How to Install Solar Panels on the Ground Effectively?
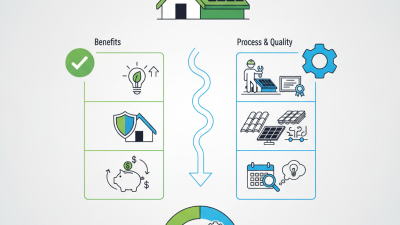
The solar industry is witnessing rapid growth, particularly in the installation of solar panels on the ground. A recent report from the International Energy Agency reveals that ground-mounted solar installations can increase energy efficiency by up to 30%. This method not only maximizes sunlight exposure but also minimizes potential shading from nearby structures.
Industry expert Dr. Emily Thomas emphasizes the importance of proper installation, stating, "Ground installations require careful planning for optimal energy capture." Her insights highlight the need for expertise in site selection and system design. However, achieving effective installation is not without challenges. Factors such as soil conditions, local regulations, and environmental impact assessments must be addressed.
Installation of solar panels on the ground is a promising solution to harness renewable energy. Yet, the approach demands meticulous planning and execution. Mistakes can lead to lower efficiency and increased costs. To ensure success, it's crucial to reflect on these challenges and continuously adapt techniques and strategies. Ground-mounted solar systems present a complex yet rewarding opportunity for sustainable energy solutions.
Understanding Solar Panel Types and Ground Installation Methods
When considering ground installation for solar panels, it's essential to understand the different types available. Monocrystalline panels are known for their efficiency, making them a popular choice. They take up less space due to higher power output. Polycrystalline panels, on the other hand, are less efficient but are often more affordable. This option might suit larger areas where budget constraints are significant.
Ground installation methods vary greatly. Fixed installations are simple but may not maximize sunlight exposure throughout the day. Adjustable racks allow for some angle changes, but they require manual adjustments. Tracking systems follow the sun's path, optimizing energy capture but at a higher cost and complexity. Each method has its advantages and disadvantages, requiring careful consideration.
Another factor is the terrain. Flat ground is ideal for most projects. However, rocky or uneven surfaces present challenges that could complicate installation. Soil quality is a significant aspect; loose soil might need extra reinforcement. The entire process can be daunting, especially if one is not familiar with the local regulations or land characteristics. Continuous learning and adaptability are vital in ensuring an effective ground installation.
Solar Panel Types and Their Popularity
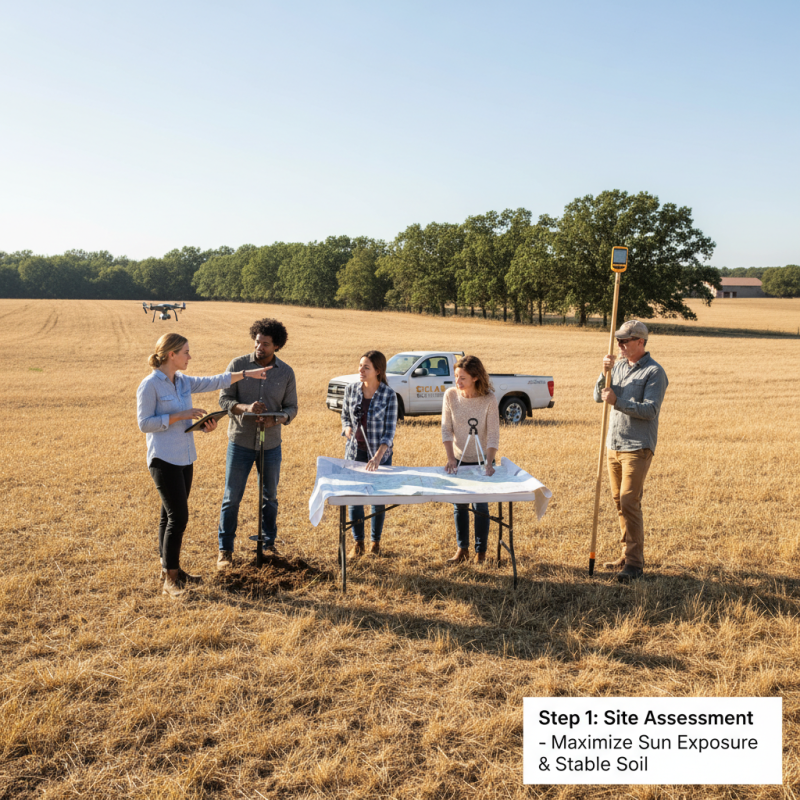
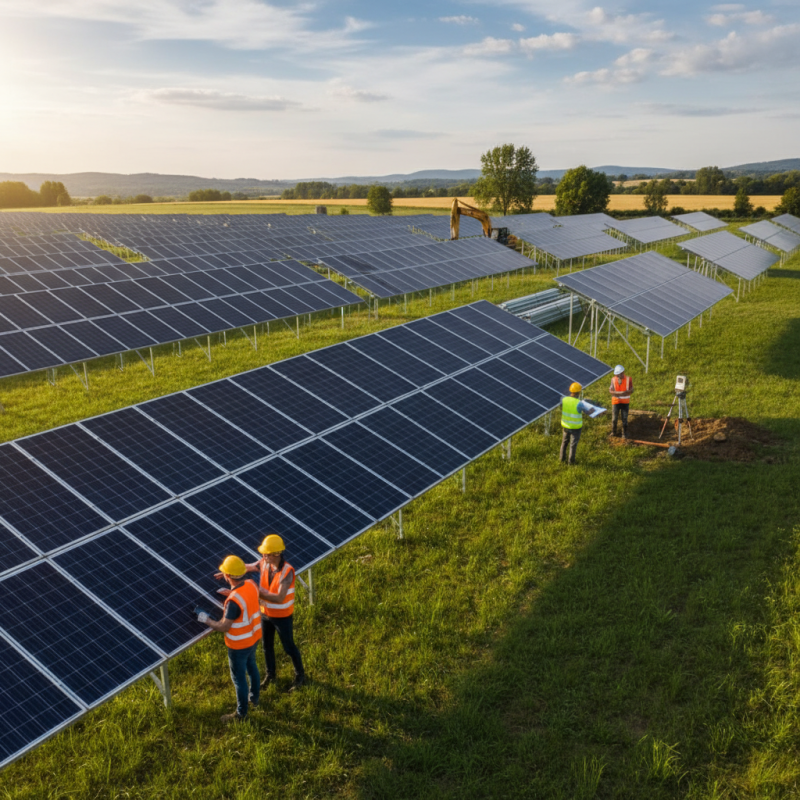
Assessing Site Conditions for Optimal Solar Panel Placement
Assessing site conditions is crucial for effective solar panel installation. First, consider the terrain type. Flat, open land typically yields optimal results. Hills or trees can create shade and reduce efficiency. Reports show that even a slight obstruction can decrease output by 10-20%. This emphasizes the need for careful site evaluation.
Soil quality matters too. Check if the ground is stable enough for mounting structures. Loose or sandy soil may require additional support. Industry data indicates that improper foundation could lead to equipment failure over time. Conduct a soil test to understand the load-bearing capacity.
Tips: Look for a location with minimal obstructions. Use tools to measure sunlight exposure throughout the day. Always aim for south-facing panels for maximum energy capture. Reflect on the site layout regularly; it can impact long-term performance. Cultivating a deeper understanding of local weather patterns can also enhance solar energy yield.
Gathering Necessary Tools and Materials for Installation
When planning to install solar panels on the ground, gathering the right tools and materials is essential. Start with safety gear like gloves and goggles. You’ll need a shovel for digging holes, a level for ensuring panels are straight, and a power drill for securing components. Measuring tape is crucial for accurate placement. Don’t forget the connector wires and mounting brackets.
Tips: Ensure your tools are in good condition. Rusty or damaged tools can delay your project. Double-check your measurements before making any cuts. This can save time and prevent costly mistakes.
Once you have the tools, consider the materials. Solar panels require specific mounting systems. Research which type suits your ground setup best. Ground stakes are vital, especially in soft soil. If your site is rocky, you might need concrete blocks for stability.
Tips: Explore different mounting options online. Each option has its pros and cons, which may affect installation. Keep an eye on local regulations, too. Not all areas allow ground-mounted systems without permits. Understanding your landscape is also crucial. Test for drainage issues that may arise over time.
Step-by-Step Guide to Installing Ground-Mounted Solar Panels
Installing ground-mounted solar panels can be a rewarding project. However, it requires careful planning. Begin by assessing your site. Choose a location with maximum sun exposure. Ensure there are no obstructions like trees or buildings. It’s vital to check if the soil is stable. Soft or muddy soil can lead to deeper troubles later on.
Once you have your area, gather the tools and materials. You'll need mounting brackets, concrete, and the solar panels themselves. Dig holes for the posts. Make sure these holes are level. If they aren’t, your panels won’t sit correctly. Always double-check your measurements. Mistakes can be costly and time-consuming.
After setting the posts, secure them with concrete. Let it cure properly. This step is often overlooked but is crucial for stability. While assembling the panels, follow the instructions closely. It’s easy to make mistakes, especially when connecting wires. A single incorrect connection can lead to malfunction. Be patient and take your time.
Maintaining and Monitoring Ground-Mounted Solar Panel Systems
Maintaining ground-mounted solar panel systems is crucial for optimal performance. Regular inspections help identify issues early. Check for dirt, debris, and shading from nearby trees. Cleaning panels can increase their efficiency. A simple rinse can often do wonders.
Monitoring energy production is equally important. Use performance metrics to track daily and monthly output. Unexpected drops in energy can signal problems. Consider using meters or apps. It's vital to act quickly if you notice discrepancies.
One common issue is wiring damage. Animals can chew through cables. Regularly inspect connections to prevent outages. Some users fail to regularly check their systems, leading to reduced performance. Consistent maintenance is essential. Otherwise, you may miss out on potential energy savings.
How to Install Solar Panels on the Ground Effectively? - Maintaining and Monitoring Ground-Mounted Solar Panel Systems
| Installation Step |
Description |
Recommended Tools |
Maintenance Tip |
| Site Assessment |
Evaluate sun exposure, land space, and regulatory requirements. |
Measuring tape, solar pathfinder. |
Check for shading obstacles regularly. |
| Foundation Preparation |
Prepare the ground by leveling and compacting soil. |
Shovels, level, compactor. |
Inspect the foundation annually for settlement. |
| Mounting Installation |
Install racks securely to the foundation. |
Drills, wrenches, level. |
Check bolt tightness every six months. |
| Panel Placement |
Attach solar panels to the mounted racks. |
Ladders, safety harness, screws. |
Clean panels to remove dust and debris. |
| Electrical Connections |
Connect wiring from panels to the inverter. |
Wire strippers, connectors, insulated gloves. |
Inspect wiring for wear and tear yearly. |
| System Monitoring |
Use software to track energy output and performance. |
Monitoring software, online app access. |
Review performance data monthly. |